Using LockDown Browser with a Webcam: The Student Experience
Each week, tens of thousands of students use LockDown Browser with a webcam to record an exam session. The installation and startup process is easy.
1) Download and Install LockDown Browser
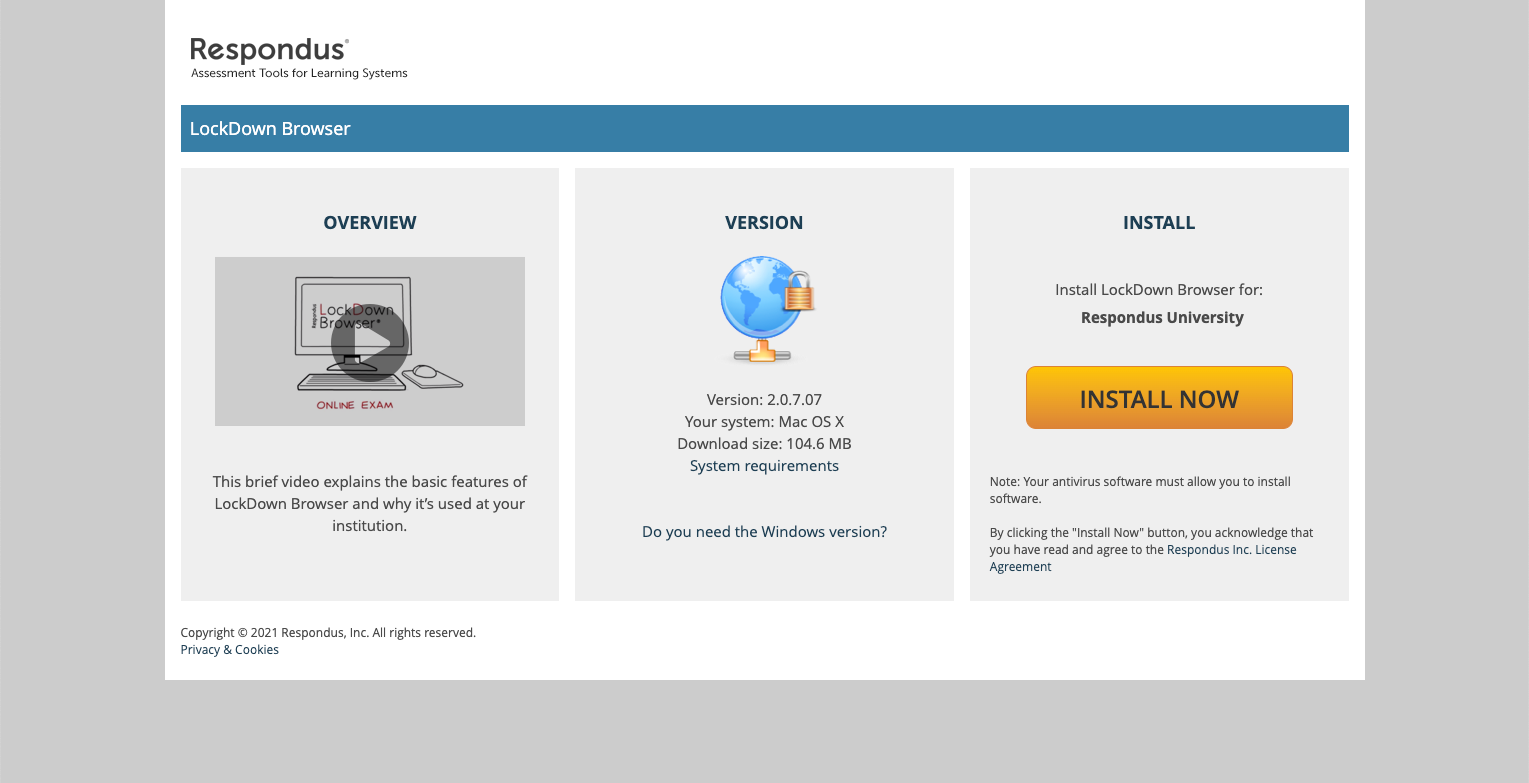
- Your instructor or institution will provide a unique download link for LockDown Browser. (Don’t Google for a download link -- it will be for the wrong school!)
- Download and install the application.

2) Open LockDown Browser and Log In
![]()
- Locate the “LockDown Browser” icon on the desktop and double-click it. (Mac users will find it in the Applications folder.)
- At this point, LockDown Browser may prompt you to close certain applications that are running on the computer.
- Log in to your online course.
3) Locate the Exam
- Locate the exam that requires the use of LockDown Browser. If your instructor doesn't require the use of a webcam, the exam will immediately begin. You won’t be able to print, copy, access other applications, or go to other websites during the exam.
- If you attempt to start the exam with a browser other than LockDown Browser, you will see an error message; you'll need to exit the browser and open LockDown Browser instead.
4) Complete the Start-up Steps
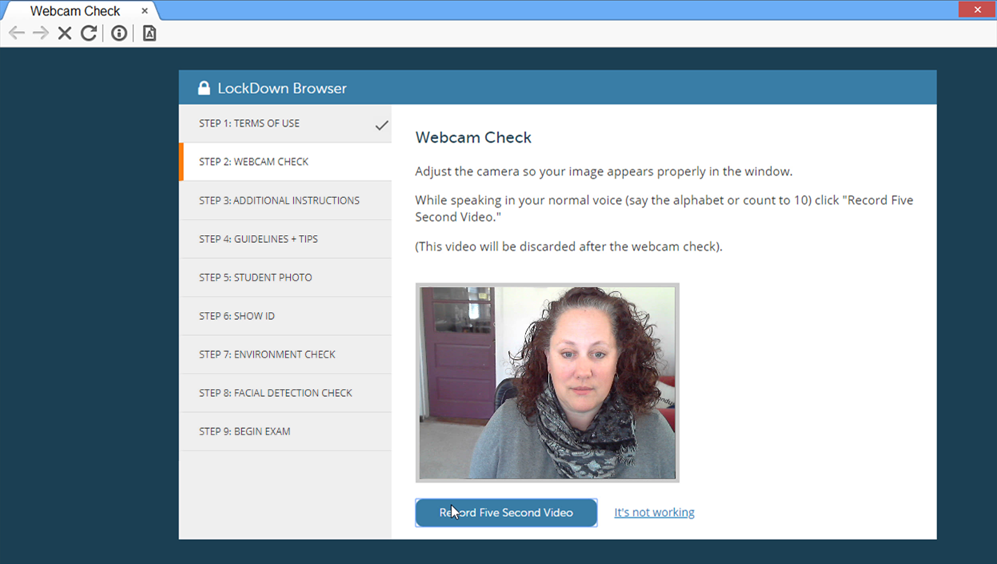
- If your exam requires the use of a webcam (sometimes referred to as Respondus Monitor), you’ll be guided through a brief set of screens prior to the start of the exam.
- The first screen is a webcam check, where you can make sure the webcam is working properly. Additional steps may be required by your instructor, such as showing your identification, or recording a brief video of your examination setting.

5) Take Your Exam
- Once the exam begins, a "Recording" icon will appear at the top right of the screen.

- Don’t attempt to exit the exam until you’re finished. Additionally, you won’t be able to print, copy, access other applications, or go to other websites during the exam.
- When the exam is submitted for grading, the webcam will stop recording and you may exit LockDown Browser.